SPIRAL CLUSTER ARCHES (AND COLUMNS)
This page has a lot of images and may take some time to load. They are low resolution images and are not meant to be for anything but instructional use. Besides, I'm a lousy photographer !!
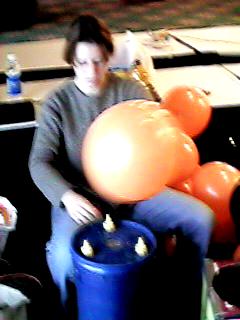
Begin by over inflating (stretching) the balloons before sizing them in the "holey box".
Consistent sizing is an absolute must !!
Tie 2 balloons together to form a "duplit". Use your forearms and thighs to aid in the tying.
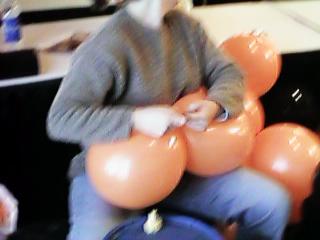
Twist together 2 duplits to form a :
Four balloon cluster.
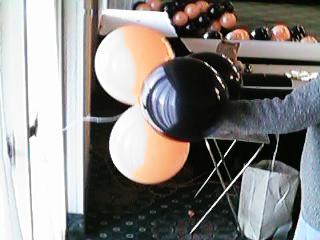
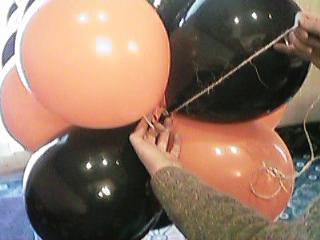
After tying one end of your string (twine, fishing line etc.) to a solid object, wrap the string several times into the cluster. The other end of the string is free. Make sure to leave several feet of unused string for tying later.
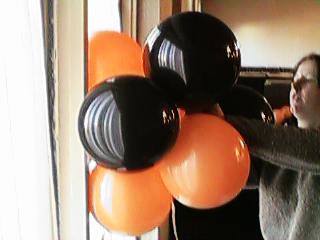
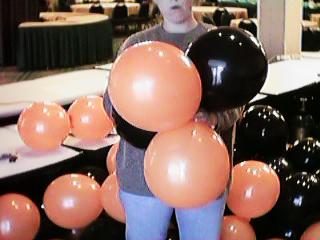
It takes some practice to get the 2nd cluster properly situated. Some people find using a wall to be helpful. When the second cluster is in place as shown above, wrap the string around the 2nd cluster making sure that the clusters are pulled firmly together.
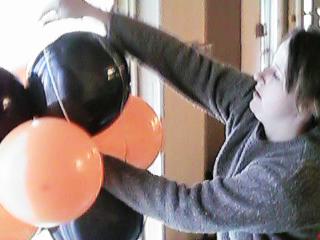
While pinching the string with the balloons in the center, wrap at least once around each color to prevent loosening later.
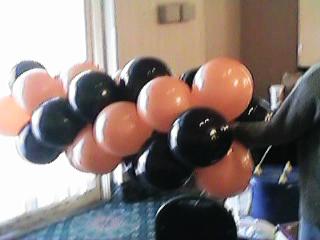
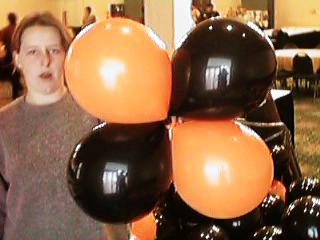
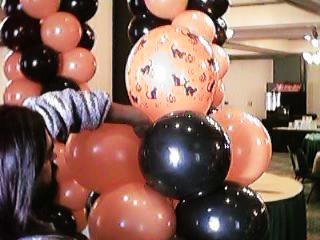
The rest of the clusters will go on quite quickly....make sure to push each cluster firmly (with consistent pressure) into the cluster before it. DO NOT SLIDE THE CLUSTER AGAINST THE STRING !! It will burn the balloons and create a pinhole that will cause the balloon to deflate right after you leave the building !! Press on the cluster, pinch it to the string and wrap it.!!
When you reach the end, simply hold a loop in the line and pass the line back through it to secure the end of the unit.
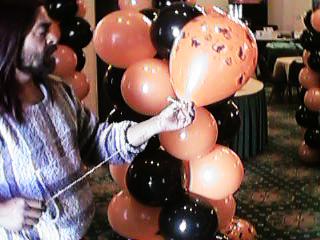
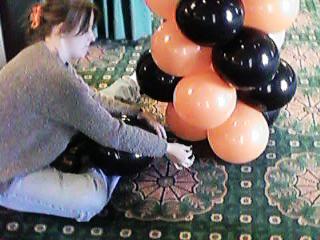
Jesse has prepared a "head piece" for the top of a spiral cluster column.
After setting it on top of the column, he will wrap the string into the clusters to hold it in place.
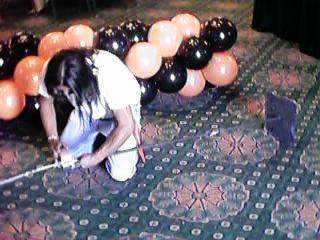
Now, to prepare the frame, he is attaching a piece of 1/4 inch aluminum rod to a balloon stand using duct tape.

With the second stand attached in a similar fashion, Jesse holds the frame above the spiral while Charlotte pushes it gently down into the balloons.
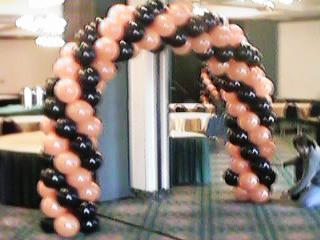
With the frame fully inserted, the stands can be placed upright and Voila !! An arch. It is easy to move about and quite durable. Not to worry if you break a balloon or two :
Repairs can be made simply by tying a new balloon (properly sized) onto the remains of the broken balloon. Sometimes it helps to cut away most of the dead balloon. This tie may take some practice.
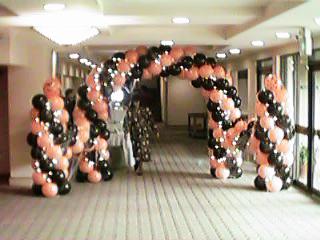
The finished product complete with lights, cobwebs, and spiders.
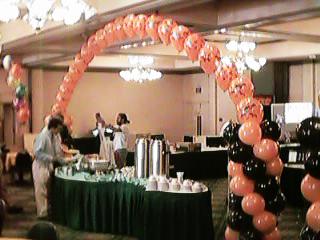
One of many uses for the columns.
There are many variations on the standard arch. We have found this method to be reliable and very fast. If you have improvements on this procedure, e-mail them to me. We hope that this has been of some help to you.